Major Title pcb repair |
Post Reply 
|
| Author | |
ben76 
Kill Screen 
Official Porchy fan club member Joined: 21 June 2011 Location: Macc, Cheshire Status: Offline Points: 20952 |
 Post Options Post Options
 Thanks(0) Thanks(0)
 Quote Quote  Reply Reply
 Topic: Major Title pcb repair Topic: Major Title pcb repairPosted: 05 February 2015 at 12:06am |
|
Hi all,
I recently got a Major Title pcb however it was faulty! Which was good as I've not been well recently and needed something to focus on. The pcb arrived on Monday 2nd Feb and I had time to get straight on it! 1st plug in gave out a ram problem.   That was the pcb saying which rams are bad and also the Major Title logo was messed up and over too the left. I looked online for the schematics and couldn't find any  so I looked for repair logs and one on Aussie Arcade by IG/VG sort of matched so I piggybacked a ram and the logo appeared back where it should and one of the red '1' had gone back to a '0'... result I removed it and socketed in another 6116... so I looked for repair logs and one on Aussie Arcade by IG/VG sort of matched so I piggybacked a ram and the logo appeared back where it should and one of the red '1' had gone back to a '0'... result I removed it and socketed in another 6116...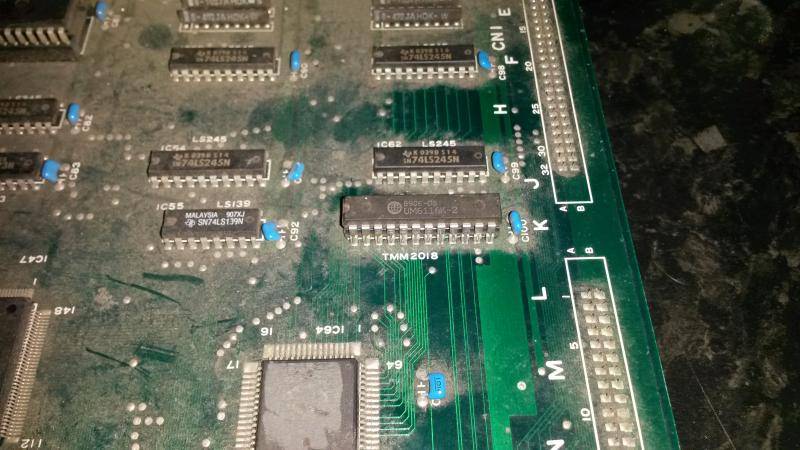 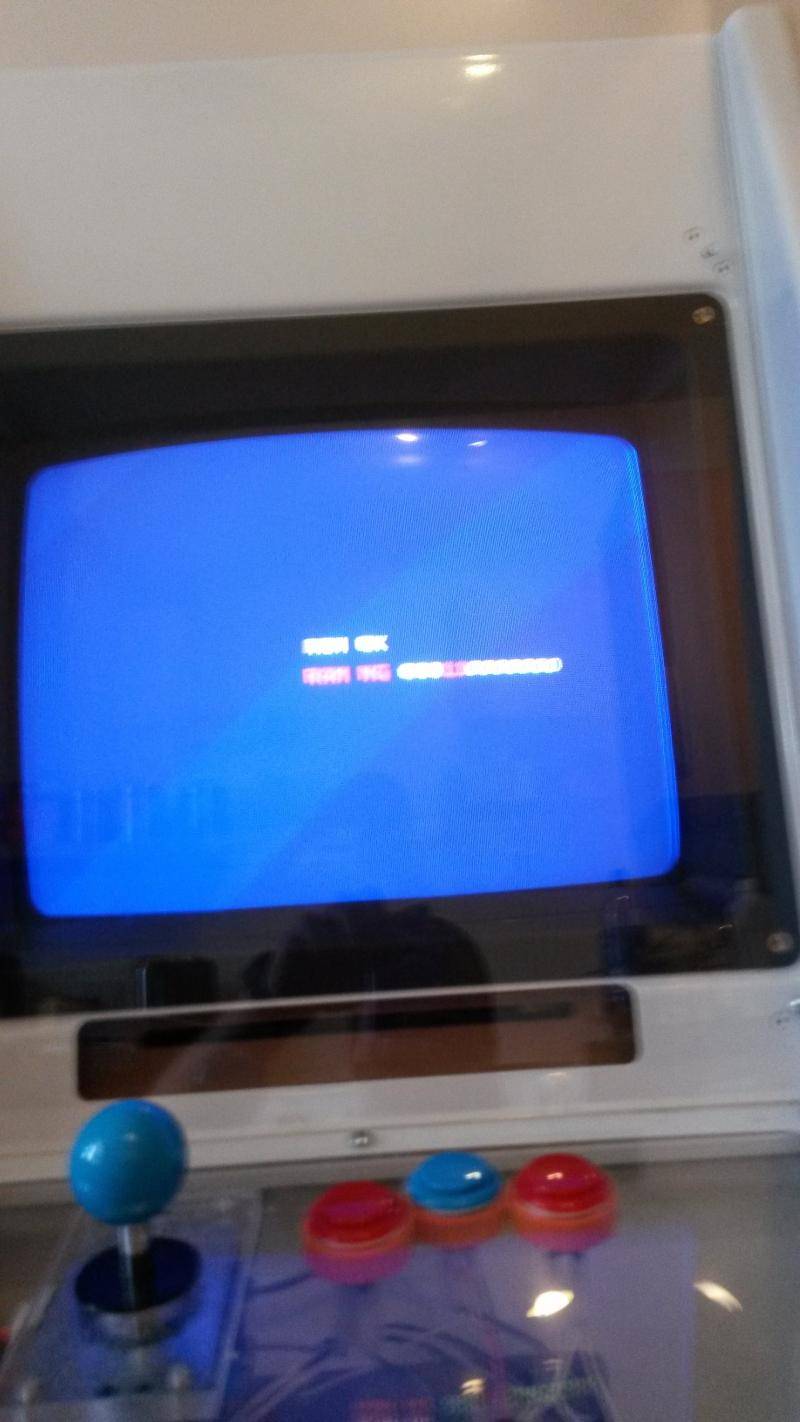 I was getting somewhere... This then led me to piggybacking ram to see if any difference occurred. Not much happened then I realised the ram maybe working in pairs so tried piggybacking multiple rams. Slowly I started getting somewhere.... (and forgot to take pics of the roms!) Anyway.... After a total of 7 6116 rams changed (thank you sf2 boot pcbs!) 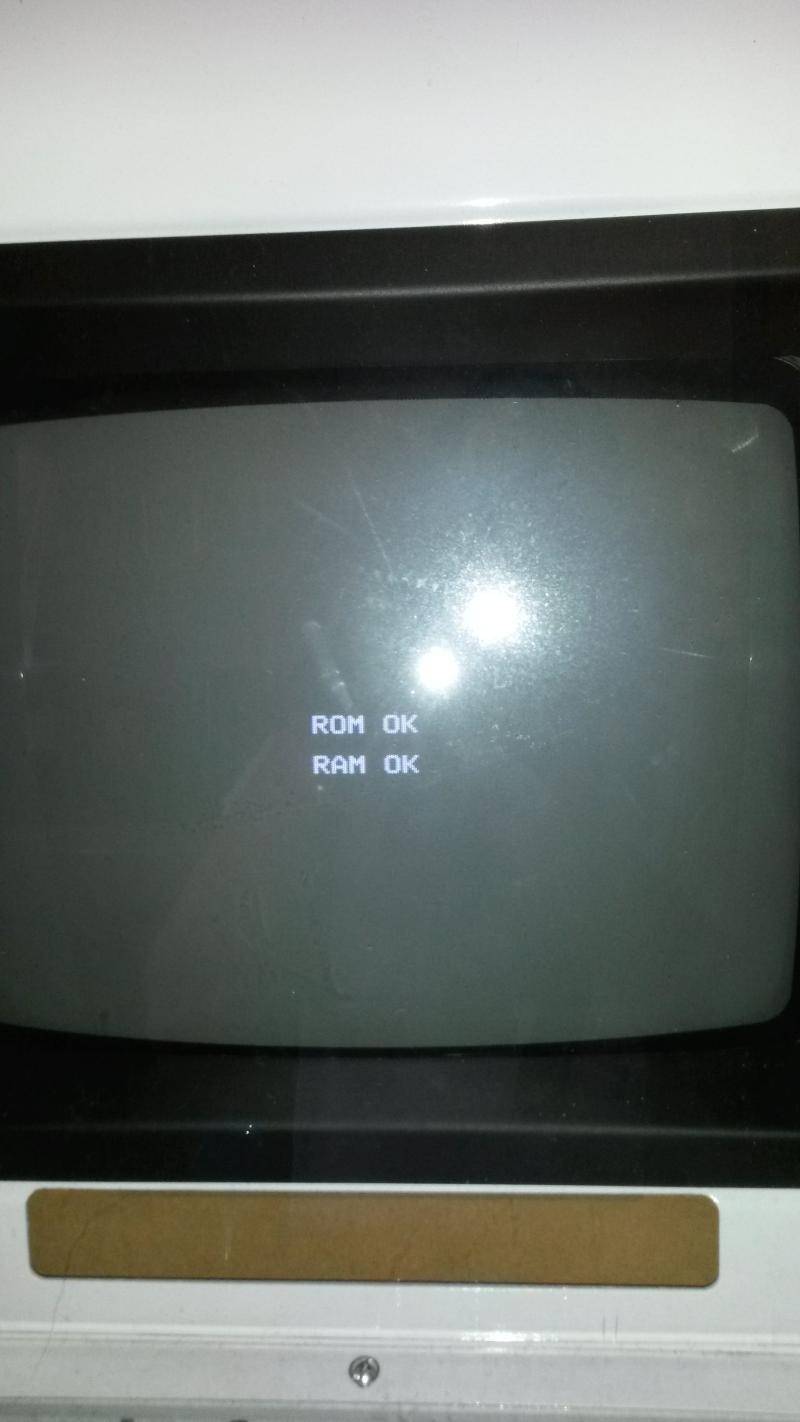 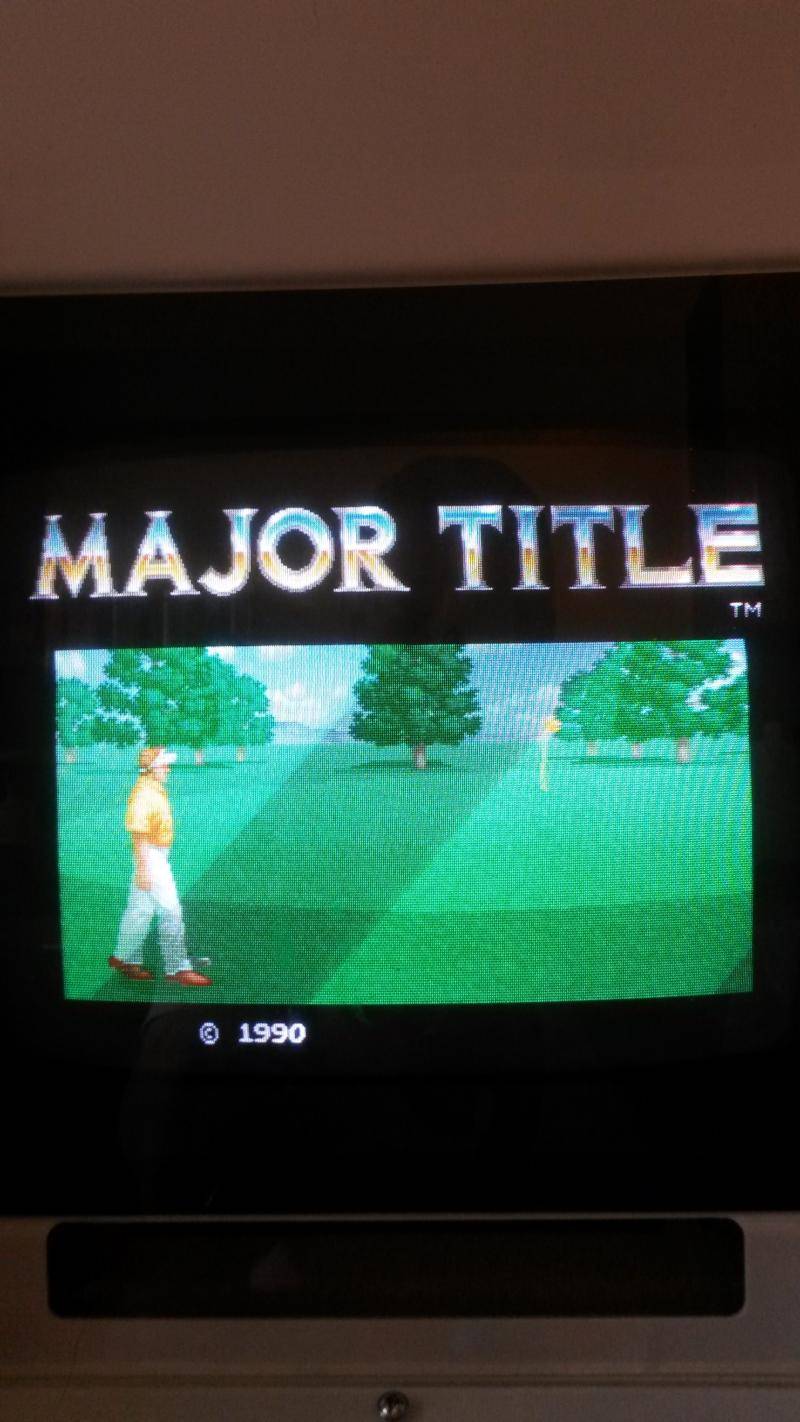 Enjoyed that one  now to rtype it.... now to rtype it....  - Ben P.S. I think I am right with the 6116 ram being tied in lots of 2 and also it seems to like 2 of the exact same (I did try the same speed marked but it didn't like it so had to change both!) P.P.S. Not sure why it had 3 faulty ram chips reported and I had to change 4 locations overall  |
|
|
I
 Porchy Porchy 
|
|
 |
|
mr_ppp 
Patreon 

Joined: 05 January 2010 Location: Gloucestershire Status: Offline Points: 1576 
|
 Post Options Post Options
 Thanks(0) Thanks(0)
 Quote Quote  Reply Reply
 Posted: 05 February 2015 at 12:13am Posted: 05 February 2015 at 12:13am |
|
Nice one Ben! Hope I'll be able to do things like this one day

|
|
|
My Console Games Collection
|
|
 |
|
Nimajamin 
Kill Screen 

Joined: 11 September 2012 Location: London Status: Offline Points: 2425 
|
 Post Options Post Options
 Thanks(0) Thanks(0)
 Quote Quote  Reply Reply
 Posted: 13 February 2015 at 1:49pm Posted: 13 February 2015 at 1:49pm |
|
Now to Par-Type it
 ..gosh, I better pull my finger out & get that guide sorted. ..gosh, I better pull my finger out & get that guide sorted.
|
|
|
Join the resistance..! (Lead solder is preferable)
|
|
 |
|
tb2000 
Moderator 
Da Mon Joined: 10 April 2005 Location: West Country Status: Offline Points: 9160 
|
 Post Options Post Options
 Thanks(0) Thanks(0)
 Quote Quote  Reply Reply
 Posted: 13 February 2015 at 1:53pm Posted: 13 February 2015 at 1:53pm |
 I've got one to do for myself and one for Olly! I've also got a faulty Major Title 2 which I think is ripe for a R-Type Leo conversion! I've got one to do for myself and one for Olly! I've also got a faulty Major Title 2 which I think is ripe for a R-Type Leo conversion! 
|
|
|
Currently looking for: 14" and 19"/20" Hantarex/WG/Electrohome/Kortek etc. monitor frames
|
|
 |
|
Nimajamin 
Kill Screen 

Joined: 11 September 2012 Location: London Status: Offline Points: 2425 
|
 Post Options Post Options
 Thanks(0) Thanks(0)
 Quote Quote  Reply Reply
 Posted: 13 February 2015 at 1:55pm Posted: 13 February 2015 at 1:55pm |
|
The basic trick is to use a pair of 74LS157's (basically each one is a 4 way switch (two sets of 4 inputs, 4 outputs & an A/B select) to route the 5 (iirc) pcb mods to be either modded - or not, based on the Hi/Low Rom select signal routed around the board. (The Bydo Orange wire in the original post)
The reason I dont have a guide prepared was that I just went through each mod in turn. Wish I documented the second one I did, it was much neater, using more of the original traces - in place of patch wire. I did photo it tho, so I should be able to retroactively doc it. |
|
|
Join the resistance..! (Lead solder is preferable)
|
|
 |
|
ben76 
Kill Screen 

Official Porchy fan club member Joined: 21 June 2011 Location: Macc, Cheshire Status: Offline Points: 20952 |
 Post Options Post Options
 Thanks(0) Thanks(0)
 Quote Quote  Reply Reply
 Posted: 13 February 2015 at 4:20pm Posted: 13 February 2015 at 4:20pm |
  got enough chips sorted to do 1 dual conversion got enough chips sorted to do 1 dual conversion- Ben |
|
|
I
 Porchy Porchy 
|
|
 |
|
capcomguru 
Power Up 
Joined: 26 February 2015 Location: USA Status: Offline Points: 12 |
 Post Options Post Options
 Thanks(0) Thanks(0)
 Quote Quote  Reply Reply
 Posted: 26 February 2015 at 8:10pm Posted: 26 February 2015 at 8:10pm |
|
nice, thanks for sharing
|
|
 |
|
GadgetFreak 
Power Up 
Joined: 18 November 2016 Location: UK Status: Offline Points: 35 |
 Post Options Post Options
 Thanks(0) Thanks(0)
 Quote Quote  Reply Reply
 Posted: 18 November 2016 at 12:47pm Posted: 18 November 2016 at 12:47pm |
|
Hi,
I know this is an old post but I have a MT that is showing exactly the same ram errors, yours is the only repair post I have managed to find for this problem. Do you remember which rams you replaced to clear those 2 ram faults?
|
|
 |
|
Post Reply 
|
|
|
Tweet
|
| Forum Jump | Forum Permissions  You cannot post new topics in this forum You cannot reply to topics in this forum You cannot delete your posts in this forum You cannot edit your posts in this forum You cannot create polls in this forum You cannot vote in polls in this forum |